
English · By MundoGood · October 2, 2026
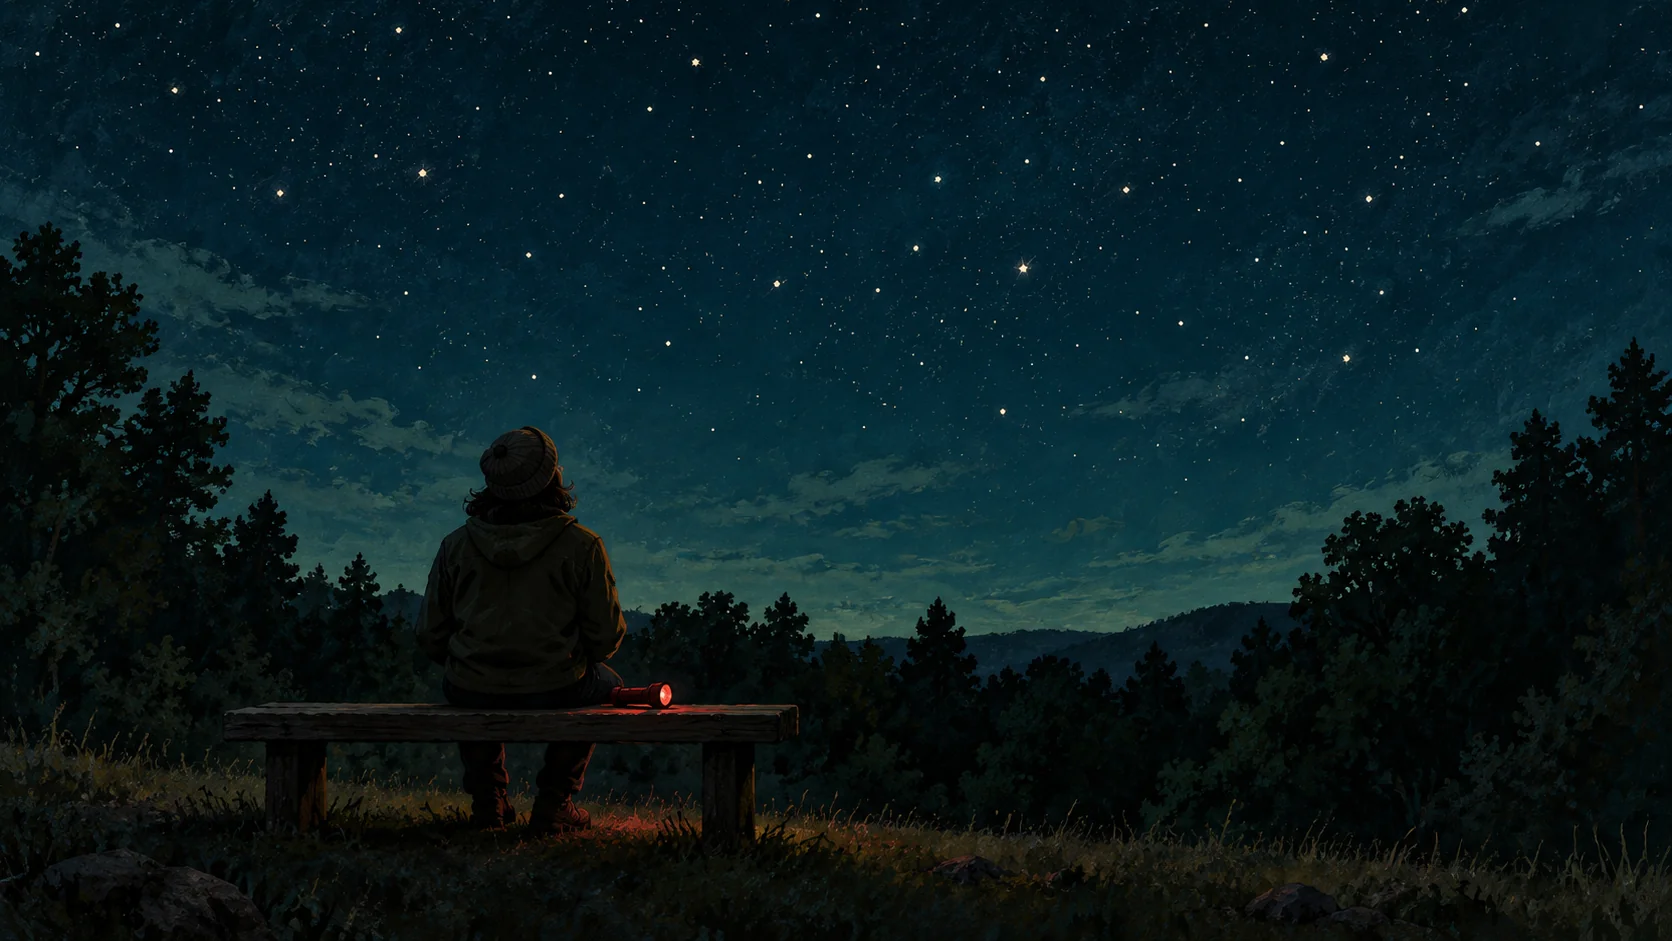
AI-generated conceptual illustration; the stars do not depict a specific observing date or location.
You can begin stargazing with your eyes, a suitable place to stand or sit, and one modest goal. Identifying a single pattern or watching the Moon over several evenings is enough for a worthwhile first session.
NASA’s skywatching FAQ says special equipment is not necessary. Naked-eye possibilities include stars, the Moon and some bright planets, while binoculars and telescopes reveal details your eyes cannot. What is actually visible depends on your location, date, time and conditions. This guide does not promise that any named planet or constellation will be visible tonight.
Choose the site before choosing the target
Look for a safe, permitted place with an open view and as little glare as practical. NASA recommends getting away from bright city lighting and avoiding obstructions that hide large portions of the sky. A nearby familiar spot can be a better first outing than an unfamiliar remote location requiring a long night drive.
Before leaving, check access hours, the weather and a safe route home. If the plan depends on a park gate remaining open or a beach being accessible, verify that locally. Dark skies are useful only if you can observe there safely and legally.
Prepare a map for your sky
A sky map should match your location, hemisphere, date and intended observing time. Set those before heading outside. Pick one easy target shown on that map, and identify the direction you will need to face.
NASA’s beginner stargazing notes recommend maps and explain why Moon phase and bright light matter. The article notes that dark adaptation takes about 30 minutes and that a bright phone screen or headlights can interrupt it. Use a dim red light when practical and keep screen checks brief.
If your goal is faint stars, a bright Moon can make that harder. If the Moon is your chosen subject, the same evening can still be useful. Choose a goal that fits the conditions instead of treating every outing as a test of how many stars you can count.
A simple first-session plan
- Arrive with time to get oriented. Find an unobstructed place to sit without shining lights at other observers.
- Put the phone away and examine the broad view. Notice where buildings, trees or clouds block the horizon.
- Compare one small part of the sky with your prepared map. Work on one pattern before adding another.
- Make a short note: location, date, time, weather, target and what you actually recognized.
- End while the outing is still comfortable. Return another night to compare, rather than buying equipment immediately.
Our suggested success measure is simple: can you point to one thing you learned to recognize and explain how you checked it? “I think that was a planet” is a useful observation to investigate; it does not need to become a confident identification on the spot.
If you see less than expected
Check for cloud, nearby glare and a map set to the wrong time or place before concluding that you need a telescope. A photo online may also show a long exposure rather than a naked-eye view.
Bring warm layers appropriate to local conditions, water, a charged phone for safety and a comfortable seat if useful. Keep this first experience small enough that you want to repeat it.
About this guide
By MundoGood. Researched and drafted with AI assistance; sources checked October 2, 2026. This is an explanatory guide, not a claim of hands-on testing or endorsement by the organizations mentioned.